

Sewing Techniques: Exploring Advanced Methods for Complex Projects
Advanced sewing techniques elevate complex projects to new levels. Mastery of these methods ensures precision and professional results.
Sewing enthusiasts often seek to enhance their skills with advanced techniques. These methods are essential for tackling intricate projects that demand accuracy and finesse. Mastering techniques like French seams, bound buttonholes, and couture finishes can make a significant difference in the final outcome of your work.
Whether you’re creating tailored garments or intricate home décor, understanding and practicing these advanced sewing methods will help you achieve a polished, professional look. This blog will explore various advanced sewing techniques, offering tips and insights to help you refine your craft and produce exceptional results. Get ready to take your sewing projects to the next level.
Sewing Techniques For The Skilled Artisan
Advanced sewing techniques can transform simple fabrics into works of art. Skilled artisans use these methods to tackle complex projects. This guide explores essential techniques and tools.
The Evolution Of Sewing
Sewing has a rich history spanning thousands of years. Early humans used bone needles to stitch animal hides. Over time, techniques evolved with new materials and tools.
During the Industrial Revolution, sewing machines revolutionized the craft. Today, modern machines offer a range of stitches and features. This evolution allows artisans to create detailed, intricate designs with ease.
Necessary Tools For Advanced Projects
Advanced sewing requires specialized tools. These tools help artisans achieve precision and quality in their work. Below are some essential tools:
- Sewing Machine: A high-quality machine is crucial. Look for one with multiple stitch options and features.
- Serger: This tool trims and finishes edges. It creates professional seams quickly.
- Rotary Cutter: This tool makes cutting fabric easier and more accurate.
- Cutting Mat: Protects surfaces and provides a grid for precise cutting.
- Quilting Ruler: Ensures straight cuts and accurate measurements.
Other useful tools include specialty needles, tailor’s chalk, and high-quality thread. Investing in these tools enhances your sewing projects.
| Tool | Purpose |
|---|---|
| Sewing Machine | Multiple stitch options |
| Serger | Trims and finishes edges |
| Rotary Cutter | Accurate fabric cutting |
| Cutting Mat | Protects surfaces |
| Quilting Ruler | Accurate measurements |
Mastering these tools is essential for complex sewing projects. They ensure professional results and streamline the sewing process.
Credit: www.dutchlabelshop.com
Fabric Dynamics
Understanding fabric dynamics is key to mastering advanced sewing projects. The fabric you choose and how you handle it can make or break your project. This section covers choosing the right material and understanding fabric grain.
Choosing The Right Material
Choosing the right material is crucial for any sewing project. Different fabrics have different properties. Some are stretchy, others are stiff. Some fabrics breathe, others trap heat.
| Fabric Type | Properties | Best Used For |
|---|---|---|
| Cotton | Breathable, soft, easy to sew | Everyday clothing, quilts |
| Silk | Luxurious, shiny, delicate | Evening wear, scarves |
| Denim | Durable, heavy, structured | Jeans, jackets |
| Jersey | Stretchy, comfortable, soft | T-shirts, dresses |
Understanding Fabric Grain
Fabric grain is the direction of the threads in the fabric. Understanding fabric grain helps you cut and sew accurately.
- Lengthwise Grain: Runs parallel to the selvage. It’s the strongest grain.
- Crosswise Grain: Runs perpendicular to the selvage. It has a bit of stretch.
- Bias Grain: Runs diagonally. It has the most stretch.
Always align your pattern with the grain line. This ensures your project keeps its shape. Misaligning can lead to twisted seams and puckered fabric.
Patterns And Alterations
Understanding patterns and alterations is crucial for advanced sewing. Patterns guide your project, while alterations ensure a perfect fit. This section covers reading complex patterns and mastering adjustments.
Reading Complex Patterns
Reading complex patterns can be challenging but rewarding. Follow these steps for success:
- Start with the instructions: Read all instructions first.
- Identify symbols: Learn the symbols used in the pattern.
- Check measurements: Ensure your measurements match the pattern.
- Organize pieces: Lay out all pattern pieces before cutting.
Symbols and notations are key in complex patterns:
| Symbol | Meaning |
|---|---|
| Solid line | Cutting line |
| Dashed line | Stitching line |
| Dots | Match points |
Mastering Alterations And Adjustments
Alterations make your sewing projects fit perfectly. Here are key tips:
- Measure twice, cut once: Always double-check measurements.
- Use a dress form: A dress form helps visualize adjustments.
- Mark changes: Use tailor’s chalk or pins to mark changes.
- Test fit: Test fit with basting stitches before final sewing.
Common alterations include:
- Hem adjustments: Shorten or lengthen hems.
- Dart adjustments: Modify darts for better fit.
- Seam adjustments: Take in or let out seams.
Practice makes perfect. Try simple alterations first, then move to complex ones.
Precision Cutting
Precision cutting is critical in sewing. It ensures pieces fit together perfectly. This step can make or break your project. Advanced techniques and maintaining accuracy are essential. Let’s dive into these methods.
Advanced Cutting Techniques
Advanced cutting techniques improve your sewing projects. They help you achieve clean and precise cuts. Here are some methods to consider:
- Rotary Cutters: Use a rotary cutter for straight, clean edges. This tool is great for multiple layers of fabric.
- Pattern Weights: Use pattern weights instead of pins. They hold the fabric in place without distortion.
- Cutting Mats: A self-healing cutting mat protects your blades and surface. It also has grid lines for precise measurements.
- Sharp Scissors: Always use sharp scissors. Dull scissors can ruin your fabric.
Maintaining Accuracy
Maintaining accuracy in cutting is crucial. Here are some tips to ensure precision:
- Measure Twice, Cut Once: Always double-check your measurements. This prevents mistakes.
- Use Clear Rulers: Clear rulers allow you to see the fabric underneath. They help with accurate measurements.
- Mark Your Fabric: Use fabric markers or chalk. Marking helps guide your cuts.
- Cut on a Flat Surface: Ensure your cutting surface is flat and stable. This avoids any fabric movement.
Precision cutting involves both advanced techniques and maintaining accuracy. Together, they ensure your sewing projects are top-notch.
Stitch Mastery
Mastering stitches takes your sewing skills to the next level. Advanced techniques help complete complex projects with precision. Explore these methods to enhance your craft.
Intricate Stitches And Their Uses
Intricate stitches add detail to your sewing projects. Each stitch has a specific purpose. Here are some advanced stitches and their uses:
- French Knot: Adds decorative texture to fabrics.
- Chain Stitch: Used for outlining designs and making curves.
- Feather Stitch: Ideal for borders and embellishments.
- Herringbone Stitch: Perfect for hems and seams.
- Satin Stitch: Creates smooth, filled areas.
Tension And Stitch Length Considerations
Proper tension and stitch length are crucial for neat stitches. Adjusting these settings can prevent fabric damage and ensure durability.
| Stitch Type | Tension Setting | Stitch Length |
|---|---|---|
| Satin Stitch | Low to Medium | Short |
| Chain Stitch | Medium | Medium |
| Herringbone Stitch | Medium to High | Long |
Follow these tips for optimal results:
- Test stitches on scrap fabric first.
- Adjust tension gradually.
- Check stitch length regularly.
Use these guidelines to master advanced sewing techniques. Your projects will look professional and polished.

Credit: www.claireirelandceramics.com
Structural Techniques
Structural techniques give your sewing projects shape and strength. These methods are essential for complex designs. Let’s explore how to create shape and support. We will also cover reinforcement strategies.
Creating Shape And Support
Creating shape in your sewing projects adds depth. It gives a professional finish. Here are some methods to achieve this:
- Darts: Darts help shape the fabric to the body. They remove excess fabric.
- Princess Seams: Princess seams add a curved shape. They are great for fitted garments.
- Gathers: Gathers create fullness in skirts and sleeves. They are easy to do.
Support is equally important. It maintains the structure of your garment. Use the following techniques:
- Interfacing: Interfacing gives extra support to collars and cuffs. Choose the right weight for your fabric.
- Boning: Boning is used in corsets and structured dresses. It helps maintain shape.
Reinforcement Strategies
Reinforcement keeps your seams strong. It prevents them from tearing. Here are some effective strategies:
- Stay Stitching: Stay stitching prevents fabric from stretching. Sew it along the edge.
- Backstitching: Backstitching secures the beginning and end of seams. It makes them durable.
- Topstitching: Topstitching adds both strength and decoration. It is visible on the outside.
Combining these techniques ensures your projects last. They look professional and withstand wear and tear.
Finishing Touches
Finishing touches make your sewing projects stand out. They add professionalism and flair. These techniques are crucial for advanced sewing projects. Mastering them will elevate your work. Let’s dive into some key finishing touches.
High-end Hems And Edgings
High-end hems and edgings add polish to your garments. There are different types of hems.
- Blind Hem: This hem hides the stitches. It looks clean and professional.
- Rolled Hem: This hem is narrow. It’s great for lightweight fabrics.
- Double Fold Hem: This hem is sturdy. It works well for thicker fabrics.
Edgings also add a special touch. Consider these options:
- Bias Tape: Use it for a neat edge.
- Piping: Adds a decorative line to seams.
- Lace Trim: Perfect for a delicate, fancy finish.
Adding Embellishments And Decorative Elements
Embellishments and decorative elements make your projects unique. They add personality and style. Here are some popular choices:
- Appliqué: Sew fabric shapes onto your project.
- Embroidery: Add intricate designs with thread.
- Beads and Sequins: Perfect for a sparkling finish.
- Buttons: Functional and decorative.
Using these techniques will transform your sewing projects. They will look polished and professional.
| Technique | Description | Best For |
|---|---|---|
| Blind Hem | Hides stitches for a clean look | Professional garments |
| Rolled Hem | Narrow hem, ideal for light fabrics | Scarves, blouses |
| Double Fold Hem | Sturdy hem for thicker fabrics | Pants, skirts |
| Appliqué | Sew fabric shapes onto project | Unique designs |
| Embroidery | Intricate thread designs | Decorative elements |
| Beads and Sequins | Add sparkle and shine | Evening wear, accessories |
| Buttons | Functional and decorative | Clothing, bags |

Credit: www.amazon.com
Complex Closures And Fastenings
Advanced sewing projects often need complex closures and fastenings. They add function and beauty to garments. Learning these techniques can elevate your sewing skills. This section explores methods for installing zippers, buttons, hooks, eyes, and snaps.
Installing Zippers And Buttons
Zippers and buttons are common closures in clothing. They provide a secure fit and add style. Here is how to install them:
| Closure Type | Steps |
|---|---|
| Zipper |
|
| Button |
|
Working With Hooks, Eyes, And Snaps
Hooks, eyes, and snaps are versatile fasteners. They work well for various garments. Follow these steps to attach them:
-
Hooks and Eyes:
- Mark the hook and eye placement.
- Sew the hook on one side.
- Sew the eye on the opposite side.
- Check the alignment and adjust if needed.
-
Snaps:
- Mark the snap placement.
- Sew the snap halves to each side.
- Ensure the snap closes securely.
- Reinforce the stitching for durability.
Tailoring And Fitting
Tailoring and fitting are crucial skills in sewing. They transform basic garments into custom pieces. These skills ensure clothes fit perfectly. Let’s explore advanced methods for tailoring and fitting.
Custom Fitting Methods
Custom fitting methods create garments that fit like a glove. These techniques consider unique body shapes. Here are some popular methods:
- Measurement Adjustments: Accurate measurements are essential. Measure bust, waist, hips, and length.
- Pattern Alterations: Adjust patterns to match measurements. Cut and tape patterns for better fit.
- Fitting Muslin: Create a test garment from cheap fabric. This helps spot fitting issues early.
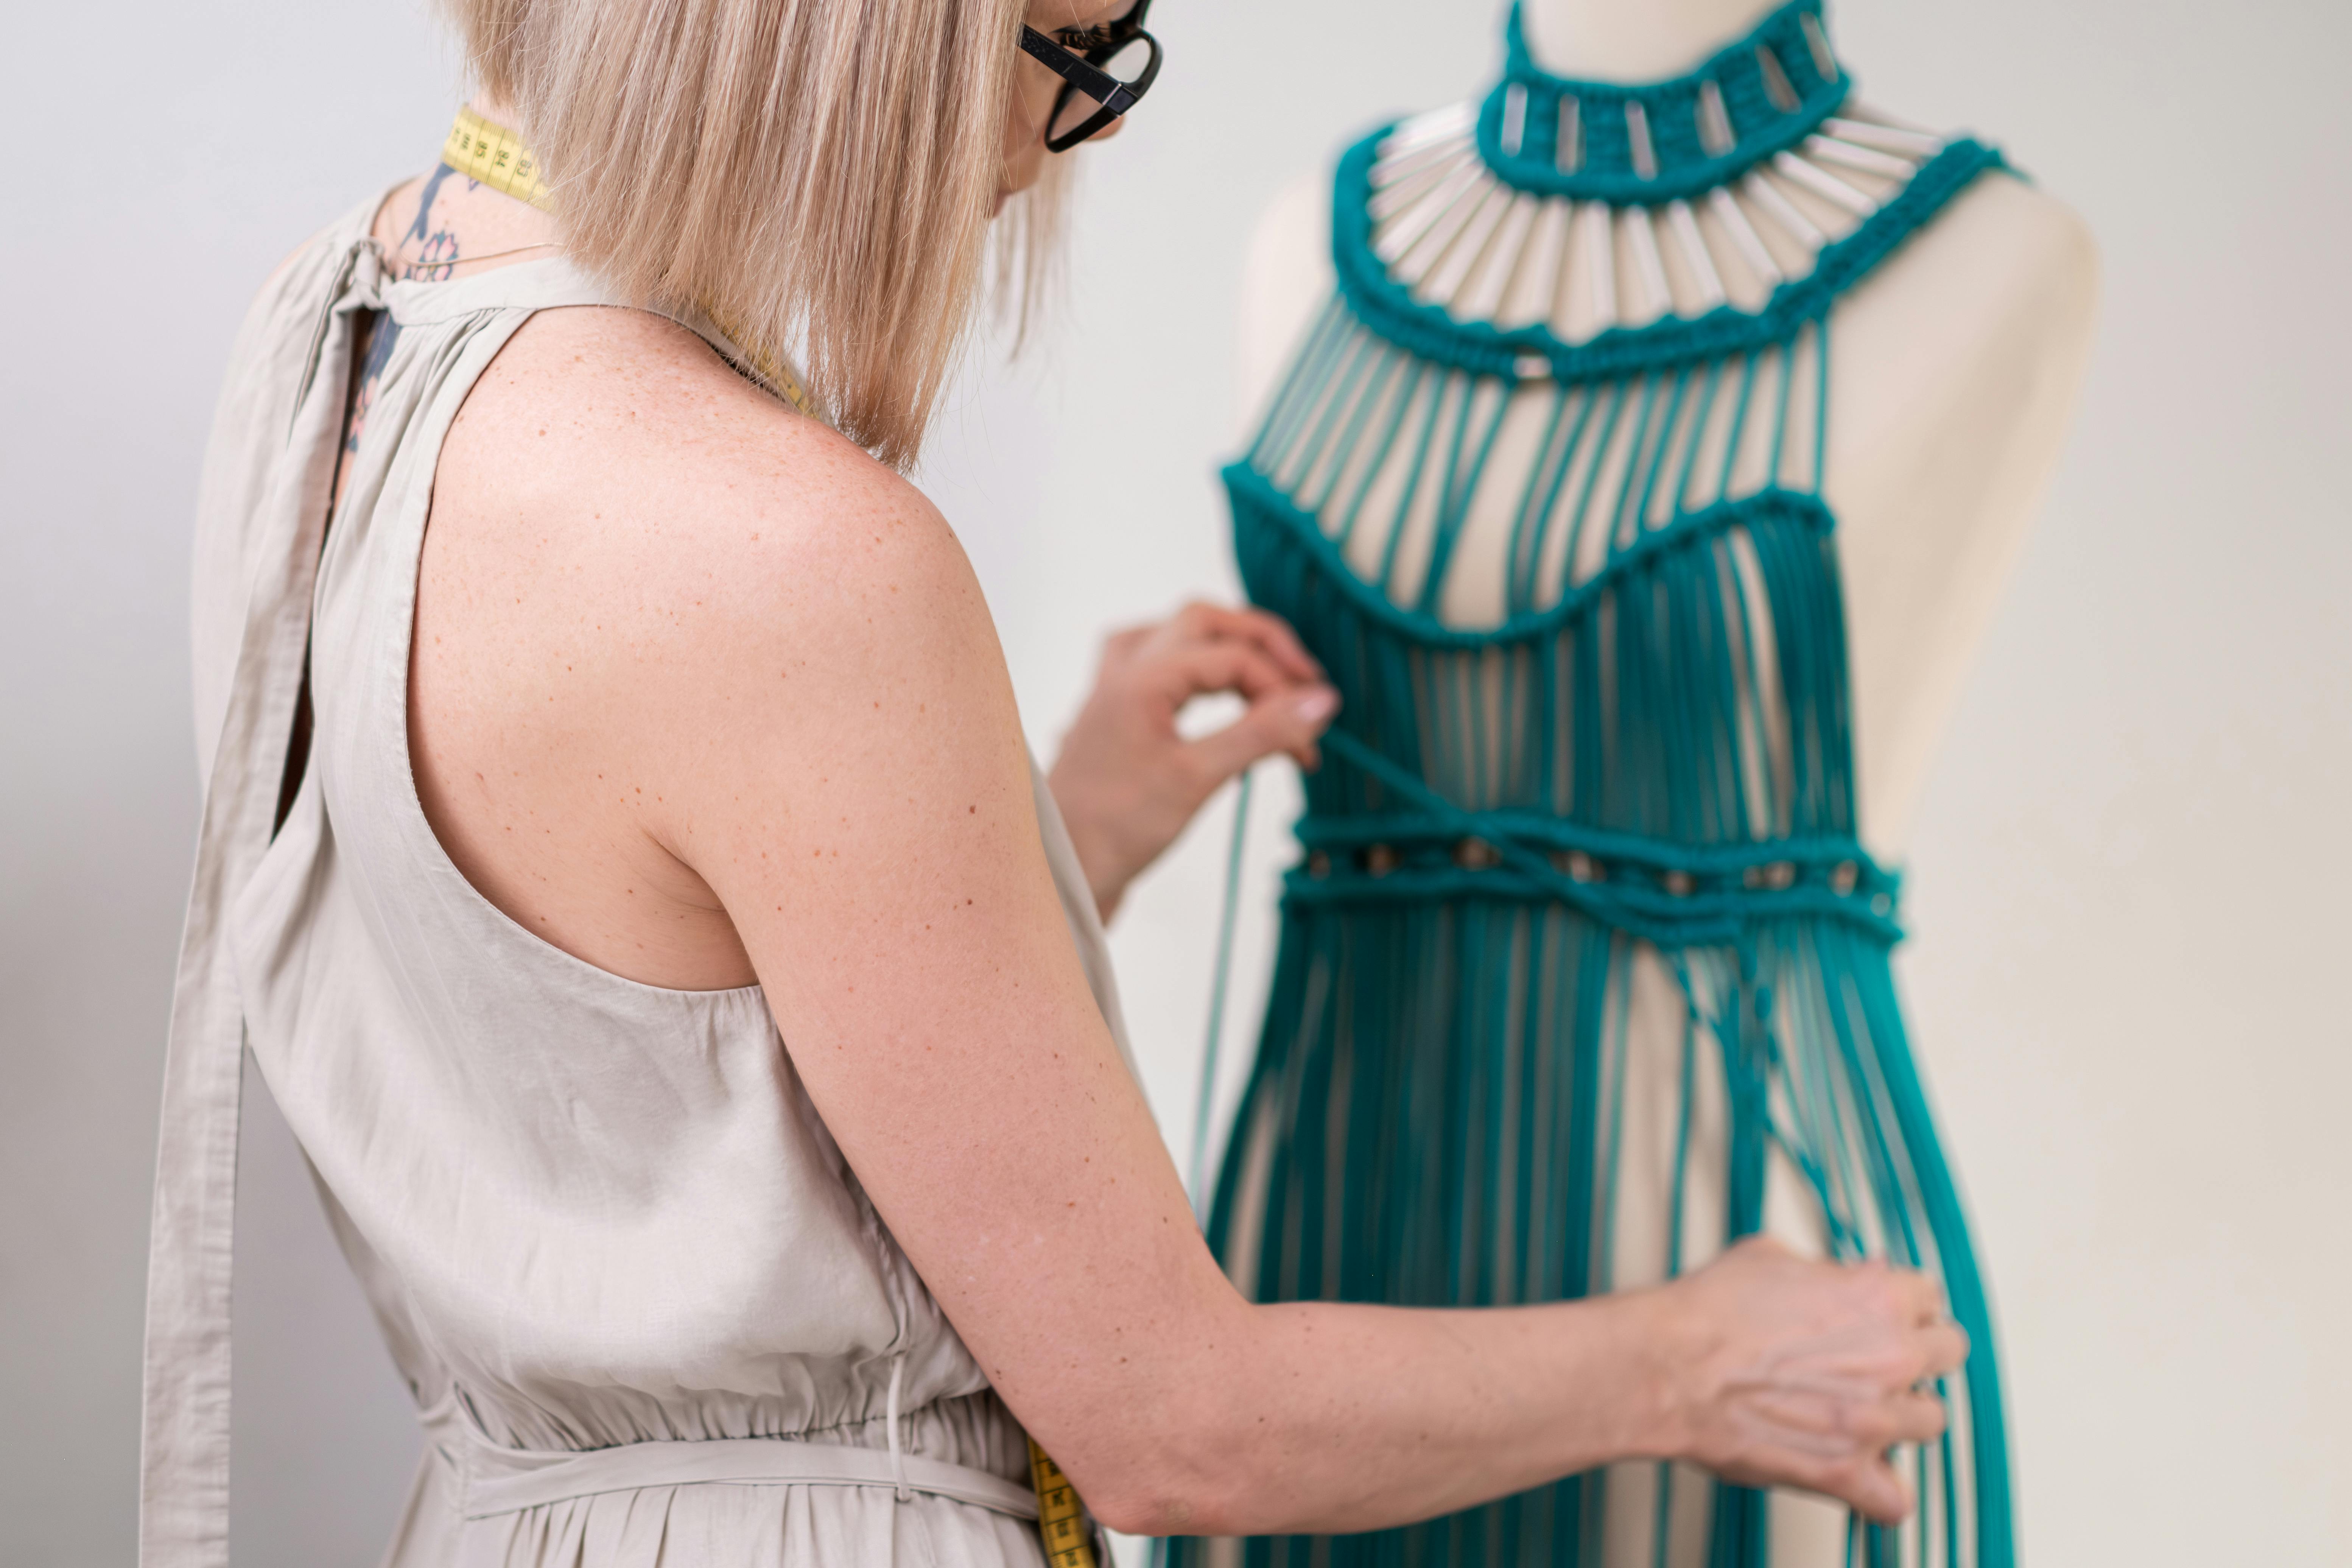
The Art Of Draping
Draping is an artistic method of garment creation. It involves pinning fabric on a dress form. This method helps visualize the final garment. Here are steps to draping:
- Choose Fabric: Select a fabric that drapes well. Lightweight fabrics work best.
- Prepare Dress Form: Use a padded dress form. Mark key points like bust, waist, and hips.
- Drape Fabric: Start pinning fabric on the form. Adjust to create desired shapes.
- Secure and Trim: Pin fabric securely. Trim excess fabric for a neat look.
| Method | Description |
|---|---|
| Measurement Adjustments | Accurate measurements for a custom fit. |
| Pattern Alterations | Adjust patterns to match body measurements. |
| Fitting Muslin | Create a test garment to identify fitting issues. |
| Draping | Pin fabric on a dress form to visualize the garment. |
Troubleshooting Common Issues
Working on complex sewing projects can be fun yet challenging. Sometimes, problems arise that can halt your progress. Understanding these issues and knowing how to resolve them is crucial. This section will guide you through common problems and their solutions.
Resolving Fit Problems
Fit problems can be frustrating. They often occur due to incorrect measurements or fabric choice. Here are some tips to fix them:
- Adjust Seams: If the garment is too tight, let out the seams. If it’s too loose, take in the seams.
- Use Darts: Adding darts can help shape the garment better.
- Check Measurements: Always double-check your measurements before cutting the fabric.
Repair And Maintenance Of Sewing Equipment
Proper maintenance of your sewing machine and tools ensures smooth operation. Here’s how you can keep them in top condition:
| Issue | Solution |
|---|---|
| Thread Breakage | Re-thread the machine and check the tension. |
| Needle Breaks | Replace the needle with the correct size and type. |
| Skipped Stitches | Change the needle and clean the bobbin area. |
Regularly oil your sewing machine and check for loose screws. Clean the machine after every project to remove lint and dust.
Conclusion
Mastering advanced sewing techniques can elevate your complex projects. These methods add finesse and precision. Practice regularly for best results. Keep exploring new techniques and experimenting with different styles. Your sewing skills will continue to improve, leading to stunning creations.
Happy sewing!


