Sewing Secrets Revealed: Mastering Techniques for Flawless Creations
Master sewing techniques to create flawless projects. Discover secrets to improve your sewing skills and achieve professional results.
Sewing can be an enjoyable and rewarding hobby. Mastering key techniques is crucial for creating flawless pieces. This guide reveals essential sewing secrets to elevate your craft. Learn how to choose the right fabrics, use proper tools, and execute precise stitches.
Understand the importance of accurate measurements and cutting for perfect fit and finish. With these expert tips, you’ll enhance your skills and produce high-quality garments and accessories. Whether you’re a beginner or an experienced sewer, these techniques will help you achieve professional results. Embrace the art of sewing and create beautiful, lasting pieces with confidence and expertise.
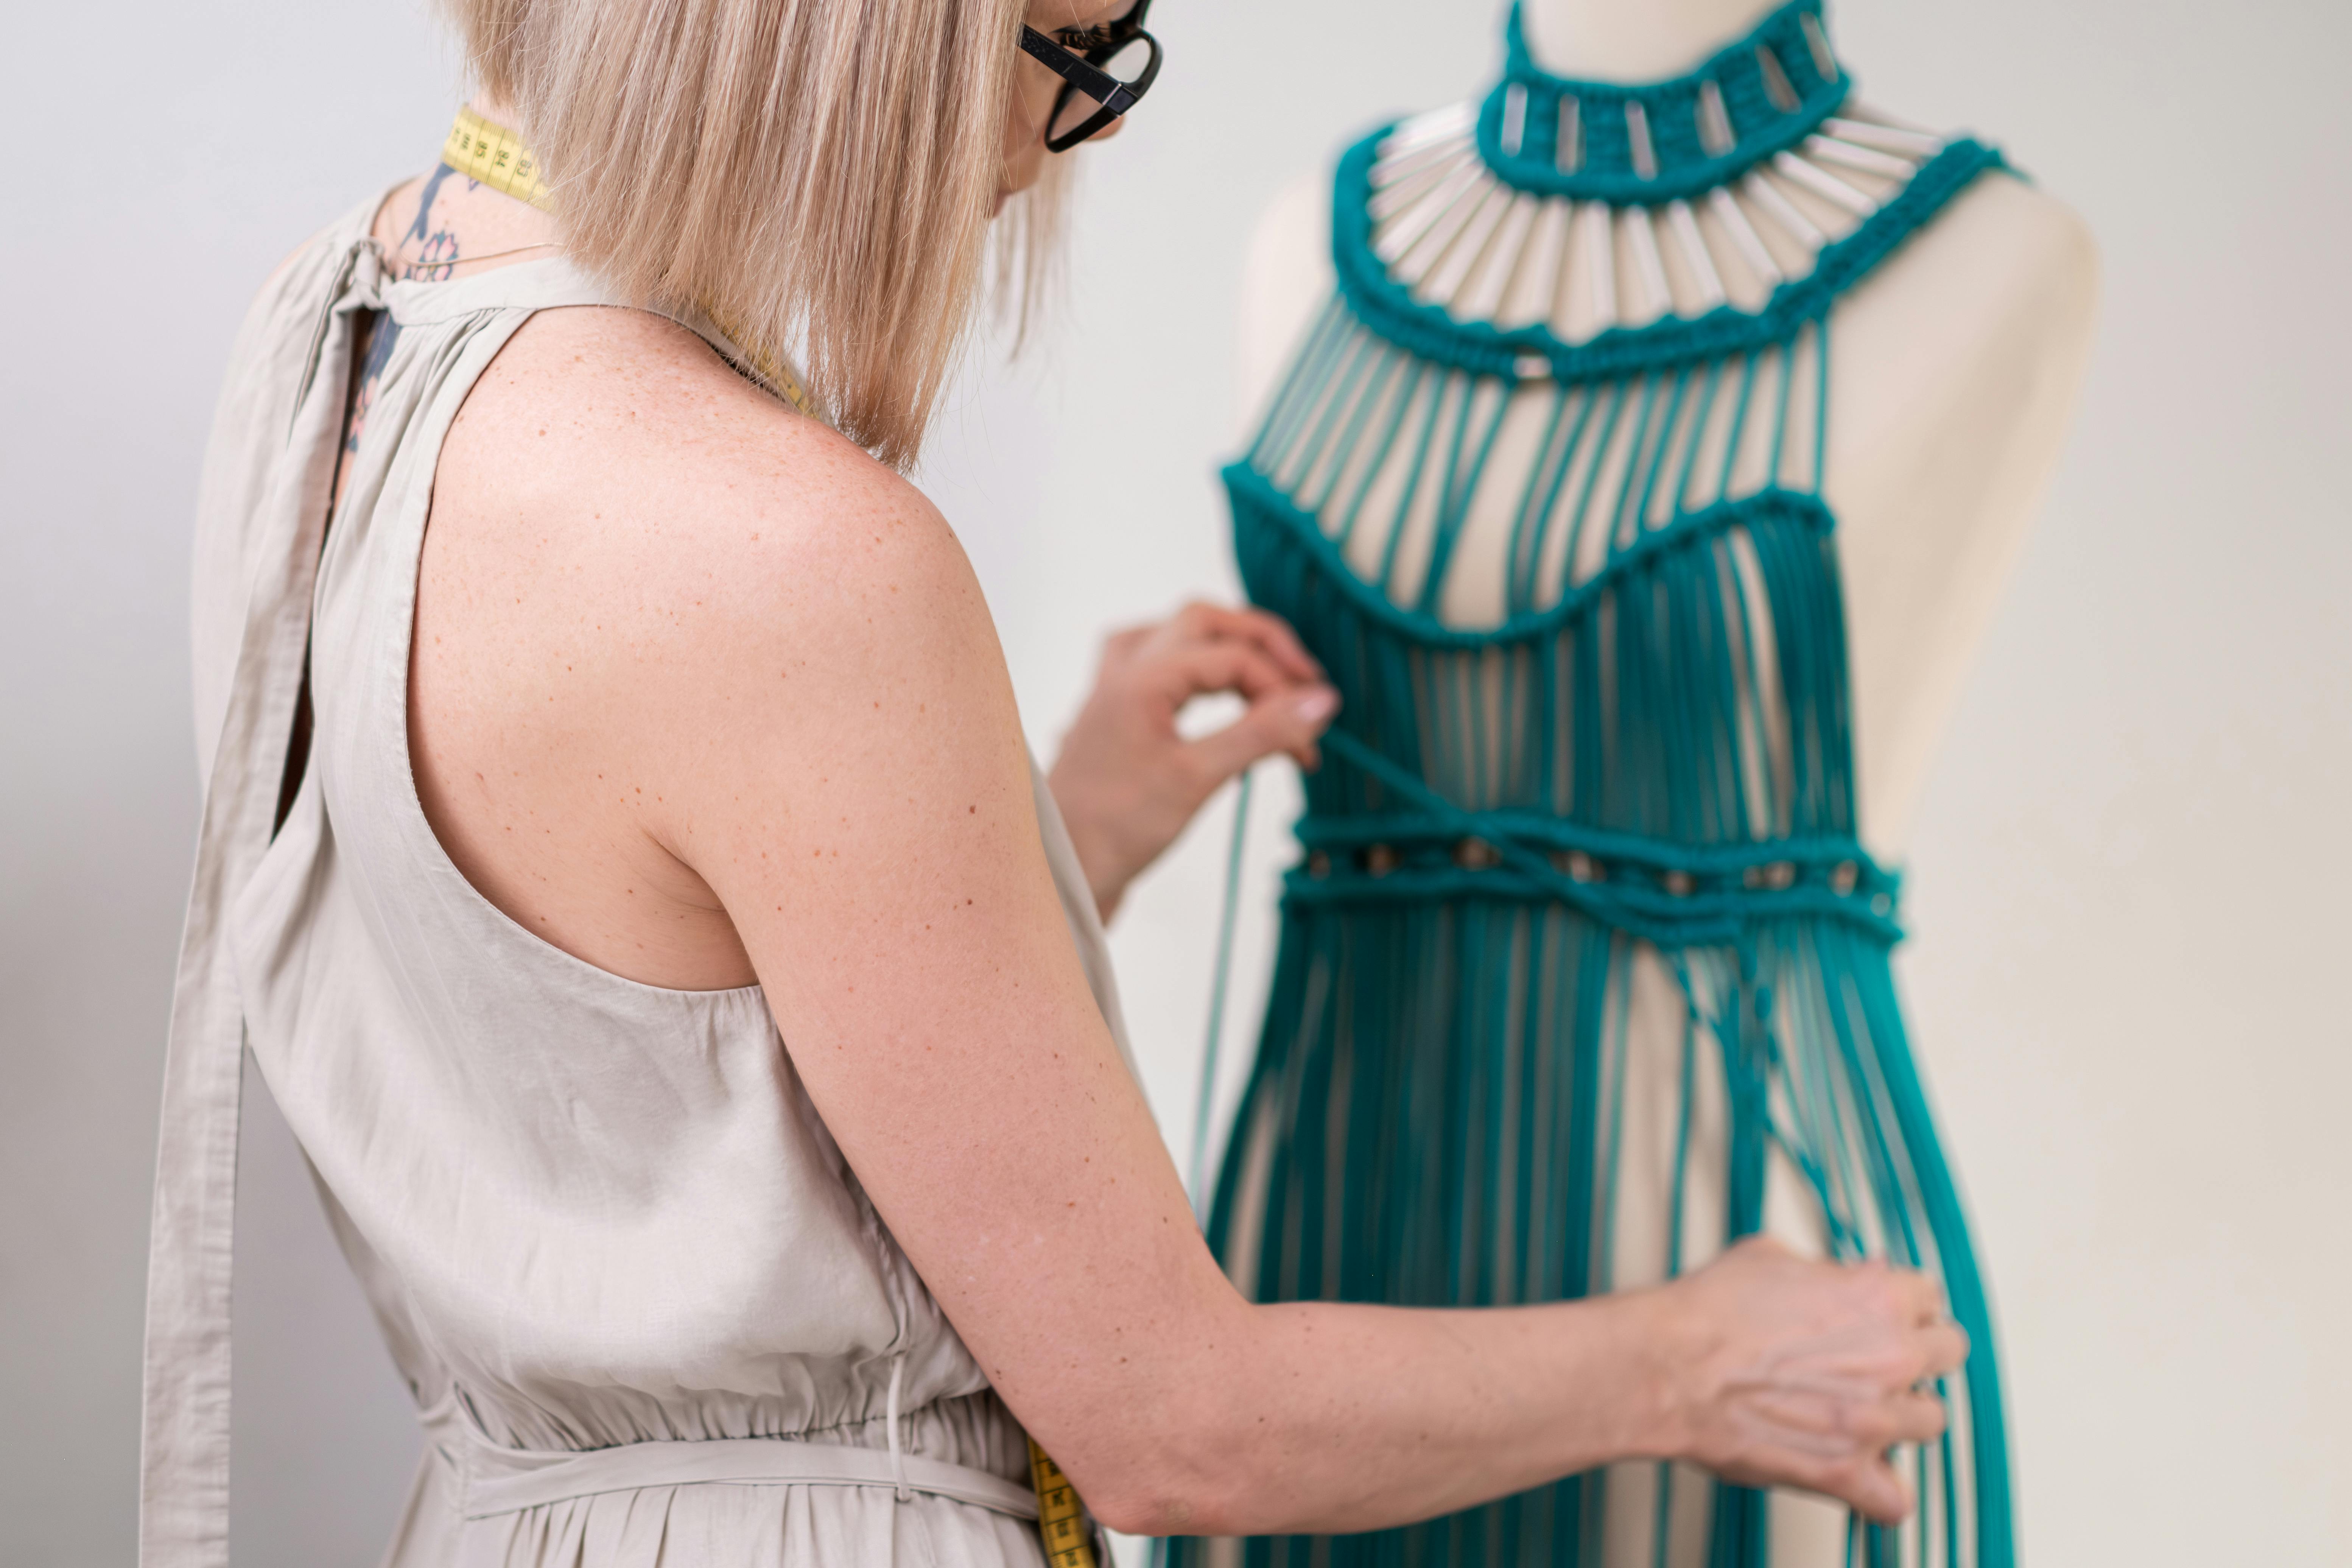
Credit: www.dutchlabelshop.com
The Essence Of Sewing
Sewing is a timeless craft. It transforms fabric into beautiful creations. It is both an art and a science. Each stitch tells a story. Behind every perfect seam, there are secrets. These secrets make sewing both intriguing and rewarding.
Sewing Through History
Sewing has a rich history. Ancient people sewed clothes by hand. They used bones and animal sinews as needles and thread. Over time, sewing evolved. The first sewing machine was invented in the 19th century. This changed sewing forever.
Here is a brief timeline of sewing history:
| Era | Milestone |
|---|---|
| Prehistoric | Hand sewing with bones and sinews |
| 18th Century | First sewing machines invented |
| 20th Century | Modern sewing machines become common |
Modern Sewing Renaissance
Today, sewing is experiencing a revival. More people are learning to sew. This is due to several factors:
- DIY fashion trends
- Eco-friendly movements
- Creative self-expression
Modern technology aids sewing enthusiasts. Advanced sewing machines and online tutorials make learning easier. This renaissance brings new techniques and styles. It also preserves traditional methods.
Here are some modern sewing tools:
- Electric sewing machines
- Digital embroidery machines
- Pattern-making software
Sewing today blends old and new. It keeps the essence of sewing alive. Each piece crafted is a blend of history and innovation.
Selecting The Right Tools
Choosing the right sewing tools ensures a smooth sewing experience. The right tools make your sewing projects easier and more efficient. Let’s dive into the essential components of a sewing kit and the importance of investing in quality materials.
Essential Sewing Kit Components
Your sewing kit should have key items. These tools help you work efficiently and achieve professional results.
- Needles: Different sizes for various fabrics.
- Scissors: Sharp fabric scissors and small thread snips.
- Pins and Pincushion: To hold fabric pieces together.
- Measuring Tape: For accurate measurements.
- Seam Ripper: For removing stitches cleanly.
- Thimble: Protects your fingers while hand sewing.
- Thread: Various colors for different projects.
- Marking Tools: Chalk, pens, or pencils for marking fabric.
Investing In Quality Materials
Using high-quality materials ensures your creations last longer. Quality materials provide a better finish and durability.
| Material | Benefits |
|---|---|
| Fabric | Better drape, less fraying, and vibrant colors. |
| Thread | Strong stitches, less breakage, and smooth finish. |
| Needles | Less fabric damage, longer-lasting, and smooth sewing. |
| Scissors | Clean cuts, less fabric damage, and precise work. |
Investing in quality tools and materials is key for flawless sewing creations. This investment enhances your sewing experience and the final product.
Fabric Fundamentals
Understanding the basics of fabric can transform your sewing projects. Knowing how to choose the right fabric and understanding its properties is key. This section will guide you through essential fabric fundamentals, ensuring your creations are flawless.
Choosing Fabrics Wisely
Choosing the right fabric is crucial. It affects the look and feel of your project. Consider the following factors:
- Type of Fabric: Cotton, silk, wool, and polyester each have unique qualities.
- Weight: Lightweight fabrics are ideal for blouses. Heavier fabrics work for coats.
- Stretch: Stretchy fabrics are perfect for fitted garments.
- Durability: Some fabrics wear out faster than others. Choose durable options for everyday wear.
Always test a small piece of fabric before starting your project. This ensures it behaves as expected during sewing.
Understanding Fabric Grain
Fabric grain is the direction in which the threads run. There are three types:
- Lengthwise Grain: Runs parallel to the selvage. It has the least stretch.
- Crosswise Grain: Runs perpendicular to the selvage. It has more stretch than the lengthwise grain.
- Bias Grain: Runs at a 45-degree angle. It has the most stretch.
| Grain Type | Direction | Stretch |
|---|---|---|
| Lengthwise Grain | Parallel to selvage | Least stretch |
| Crosswise Grain | Perpendicular to selvage | More stretch |
| Bias Grain | 45-degree angle | Most stretch |
Pay attention to fabric grain when cutting your pieces. It ensures your garment retains its shape and fits well.
Patterns And Measurements
Creating flawless sewing projects starts with understanding patterns and measurements. Patterns guide your fabric cutting and sewing steps. Accurate measurements ensure a perfect fit. Let’s dive into these essential skills.
Deciphering Pattern Symbols
Patterns contain various symbols that guide your sewing. These symbols may seem confusing at first. Here are some common symbols and their meanings:
| Symbol | Meaning |
|---|---|
| Notches | Helps align fabric pieces. |
| Grainline | Indicates fabric direction. |
| Dots | Marks points for matching or gathering. |
| Cutting Lines | Shows where to cut the fabric. |
| Seam Allowance | Extra fabric for seams. |
Accurate Measuring Techniques
Accurate measurements are key to a perfect fit. Here are steps to measure correctly:
- Use a flexible measuring tape.
- Wear fitted clothing.
- Keep the tape parallel to the floor.
- Measure bust at the fullest part.
- Measure waist at the smallest part.
- Measure hips at the widest part.
- Record each measurement accurately.
Here are some tips to ensure precision:
- Measure twice for accuracy.
- Ask a friend to help.
- Stand straight and relaxed.
Stitch Mastery
Sewing becomes easy with stitch mastery. Learn about common stitches and their uses. Perfecting tension and stitch length also helps. Let’s dive in!
Common Stitches And Their Uses
Understanding stitches makes sewing fun. Here are some common stitches:
- Running Stitch: Used for seams and gathering.
- Backstitch: Ideal for strong seams.
- Zigzag Stitch: Great for finishing edges.
- Blind Hem Stitch: Best for hemming pants and skirts.
- Satin Stitch: Perfect for decorative work.
Perfecting Tension And Stitch Length
Getting tension and stitch length right is key. Follow these tips:
- Adjust Tension: Balance top and bottom threads. Test on scrap fabric.
- Set Stitch Length: For basic seams, use 2.5 mm. For basting, use 4 mm.
- Check Machine Manual: Each machine is different. Follow your manual.
Here’s a quick reference table:
| Stitch | Tension | Length |
|---|---|---|
| Running Stitch | Medium | 2.5 mm |
| Backstitch | High | 2.5 mm |
| Zigzag Stitch | Medium | 3-4 mm |
| Blind Hem Stitch | Medium | 3 mm |
| Satin Stitch | High | 0.5-1 mm |
Seam Secrets
Sewing is an art that requires precision and skill. Mastering seam secrets can elevate your creations to new heights. In this section, we will uncover tips for achieving invisible seams and reinforcing seams for durability.
Achieving Invisible Seams
Invisible seams make your projects look professional. These seams blend perfectly with the fabric.
| Technique | Description |
|---|---|
| Hand Stitching | Use a blind hem stitch for hidden seams. |
| Machine Stitching | Set your machine to a narrow zigzag stitch. |
| Pressing | Press seams open for a flat, neat finish. |
Follow these steps to achieve invisible seams:
- Choose a matching thread color.
- Use a thin needle to avoid large holes.
- Stitch slowly and carefully for precision.
- Press the seam to set the stitches.
Reinforcing For Durability
Reinforcing seams ensures your creations last longer. Strong seams can withstand wear and tear.
- Backstitching: Start and end each seam with backstitching. This prevents unraveling.
- Double Stitching: Stitch the seam twice for extra strength.
- Use Reinforcement Tape: Apply tape to areas under stress, like armholes.
Here are some additional tips for durability:
- Use high-quality thread.
- Select strong fabrics for heavy-use items.
- Ensure even tension on your sewing machine.
- Check and maintain your sewing machine regularly.
Finishing Touches
The finishing touches on a sewing project can make a big difference. These details can turn an average piece into something professional. Let’s explore how to add those flawless touches.
Professional Hemming Methods
Hemming is essential for a polished look. Different methods suit various fabrics and styles.
- Blind Hemming: This method hides the stitch on the fabric. Use it for skirts or dress pants.
- Rolled Hem: Ideal for lightweight fabrics. It creates a narrow, neat edge.
- Double Fold Hem: Fold the fabric twice and sew. It’s sturdy and works on most materials.
| Method | Best For |
|---|---|
| Blind Hemming | Dress pants, skirts |
| Rolled Hem | Lightweight fabrics |
| Double Fold Hem | Most materials |
Adding Fasteners And Embellishments
Fasteners and embellishments are key to a garment’s function and beauty. These can include zippers, buttons, or decorative elements.
- Zippers: Use for closures on dresses or jackets. Ensure the zipper matches the fabric type.
- Buttons: Great for shirts and blouses. Sew them securely and evenly spaced.
- Decorative Elements: Add lace, ribbons, or beads. These add a special touch to your creation.
Remember, the final touches can elevate your sewing project. They reflect attention to detail and craftsmanship. Apply these techniques to create flawless pieces every time.

Credit: www.instagram.com
Troubleshooting Common Issues
Every sewing enthusiast faces challenges. Knowing how to fix these problems can save time. Let’s explore solutions for common sewing issues.
Solving Thread Tension Problems
Thread tension issues are common. Incorrect tension leads to uneven stitches. Follow these steps to fix tension problems:
- Check the thread path. Ensure the thread moves smoothly.
- Adjust the tension dial. Start with a medium setting.
- Test on scrap fabric. Make small adjustments as needed.
- Clean the machine. Dust and lint can affect tension.
Refer to your sewing machine manual for specific instructions. Each machine may have unique tension settings.
Mending Mistakes Without Despair
Mistakes happen. Knowing how to fix them can keep your project on track. Follow these tips to mend mistakes easily:
- Identify the mistake. Check your work carefully.
- Use a seam ripper. Remove stitches gently to avoid fabric damage.
- Re-align the fabric. Ensure pieces match correctly.
- Re-sew the seam. Use a steady hand for clean stitches.
For fabric tears, follow these steps:
| Step | Action |
|---|---|
| 1 | Place a patch behind the tear. |
| 2 | Use matching thread. Sew over the tear. |
| 3 | Trim excess fabric. Ensure a neat finish. |
With practice, fixing mistakes becomes second nature. Keep calm and sew on!
Advanced Techniques
Advanced sewing techniques can transform your creations from good to great. Mastering these skills can help you work with challenging fabrics and create beautiful designs. Let’s dive into these expert methods.
Working With Delicate Fabrics
Delicate fabrics like silk, chiffon, and lace can be tricky. Here are some tips to handle them:
- Use the right needle: Choose a fine needle, like size 60/8 or 70/10.
- Adjust the tension: Lower the tension on your sewing machine to prevent puckering.
- Use a smaller stitch length: Set your stitch length to 2.0 or 2.5 mm.
- Support the fabric: Use tissue paper or a stabilizer to support the fabric while sewing.
| Fabric | Needle Size | Stitch Length | Support Method |
|---|---|---|---|
| Silk | 60/8 | 2.0 mm | Tissue Paper |
| Chiffon | 70/10 | 2.5 mm | Stabilizer |
| Lace | 70/10 | 2.0 mm | Tissue Paper |
Exploring Decorative Stitches
Decorative stitches add flair and personality to your projects. Follow these steps to explore them:
- Choose the right stitch: Select a decorative stitch pattern on your machine.
- Practice on scraps: Test the stitch on fabric scraps to get the desired look.
- Use contrasting thread: Pick a thread color that stands out against the fabric.
- Stabilize the fabric: Use an iron-on stabilizer to keep the fabric steady.
- Sew slowly: Move the fabric gently to ensure even stitches.
Decorative stitches can be used in many ways:
- Hems: Add a decorative stitch to the hem of a skirt or dress.
- Necklines: Enhance the neckline of a blouse with an elegant stitch.
- Home decor: Use decorative stitches on pillowcases or table runners.
By mastering these advanced techniques, you can create flawless and unique pieces. Happy sewing!
Credit: www.etsy.com
Sewing Projects To Practice
Practicing sewing projects can help you improve your skills. It is important to start with simple projects. As you become more confident, you can try more challenging projects. Let’s explore some projects to practice your sewing techniques.
Simple Projects For Beginners
Beginners should start with easy projects. These projects help to build confidence. Here are a few simple sewing projects:
- Pillowcase: A pillowcase is easy to sew. It only needs straight stitches.
- Tote Bag: A tote bag is useful and simple. It teaches basic seams.
- Scrunchies: Scrunchies are small and fun. They help you practice sewing curves.
These projects are great for beginners. They help to learn the basics of sewing.
Challenging Projects To Hone Skills
Once you master the basics, try more challenging projects. These projects help to improve your skills further:
- Dress: Sewing a dress involves many techniques. It includes zippers and hems.
- Quilt: Quilting is complex but rewarding. It teaches precision and patience.
- Button-up Shirt: A button-up shirt is advanced. It involves collars and buttonholes.
These projects are more complex. They help you become a better sewer.
| Project | Skill Level | Key Skills Practiced |
|---|---|---|
| Pillowcase | Beginner | Straight stitches |
| Tote Bag | Beginner | Basic seams |
| Scrunchies | Beginner | Sewing curves |
| Dress | Advanced | Zippers, hems |
| Quilt | Advanced | Precision, patience |
| Button-up Shirt | Advanced | Collars, buttonholes |
Joining The Sewing Community
Joining the sewing community opens doors to new skills and friendships. Beginners and experts alike benefit from sharing knowledge and experiences. This section explores how to find local sewing groups and online forums to enhance your sewing journey.
Finding Local Sewing Circles
Local sewing circles offer hands-on guidance and support. You can learn directly from experienced sewers. They help you perfect your techniques and solve problems quickly. These groups often meet weekly or monthly. Check community centers, libraries, and fabric stores for meeting times.
| Place | Contact |
|---|---|
| Community Centers | Visit or call for schedules |
| Libraries | Check bulletin boards or websites |
| Fabric Stores | Ask employees for information |
Online Resources And Forums
Online resources and forums provide a wealth of information. They are accessible anytime, anywhere. Popular sewing forums include:
- PatternReview.com: Reviews and advice on patterns.
- SewingPatternSecrets.com: Tips, tricks, and community discussions.
- Craftster.org: Projects and tutorials for all skill levels.
Social media platforms are also useful. Facebook groups and Instagram hashtags connect you with fellow sewers. Use hashtags like #SewingCommunity and #SewingTips to find and share content.
Joining these communities helps you stay updated with trends. You can ask questions and get instant feedback. It’s a great way to stay motivated and inspired.
Sewing For Sustainability
Sewing for sustainability is a growing trend. It helps save the planet and your wallet. By using these techniques, you can create beautiful, eco-friendly items.
Repurposing And Upcycling
Repurposing and upcycling are essential for sustainable sewing. They allow you to transform old items into new creations.
- Repurpose old clothes: Turn old jeans into stylish bags.
- Upcycle fabric scraps: Use scraps for patchwork quilts.
- Recycle buttons and zippers: Add them to new projects.
Repurposing and upcycling reduce waste. They give new life to old materials. These practices are great for the environment.
Eco-friendly Sewing Practices
Eco-friendly sewing practices make your projects more sustainable. They use fewer resources and create less waste.
- Choose organic fabrics: Organic cotton and hemp are good choices.
- Use natural dyes: Avoid synthetic dyes. Choose plant-based options.
- Minimize fabric waste: Plan your projects carefully. Cut fabric efficiently.
Eco-friendly practices make a big impact. They help protect the environment. By sewing sustainably, you contribute to a greener world.
Conclusion
Mastering sewing techniques unlocks creativity and precision. Practice these secrets to create flawless, professional-quality garments. Enjoy the journey, and let your skills shine. Happy sewing!


